Creating a concrete RV pad can be a great investment for RV owners looking to have a stable and level surface to park their vehicle. While hiring professionals to do the job can be costly, there are budget-friendly options available for those who are willing to tackle the project themselves. With some planning and effort, you can create a DIY concrete RV pad that is both functional and cost-effective.
One of the first steps in creating a DIY concrete RV pad is to carefully plan out the size and location of the pad. Measure the area where you want to place the pad and mark it off using stakes and string. Make sure the area is level and free of any debris or vegetation before proceeding.
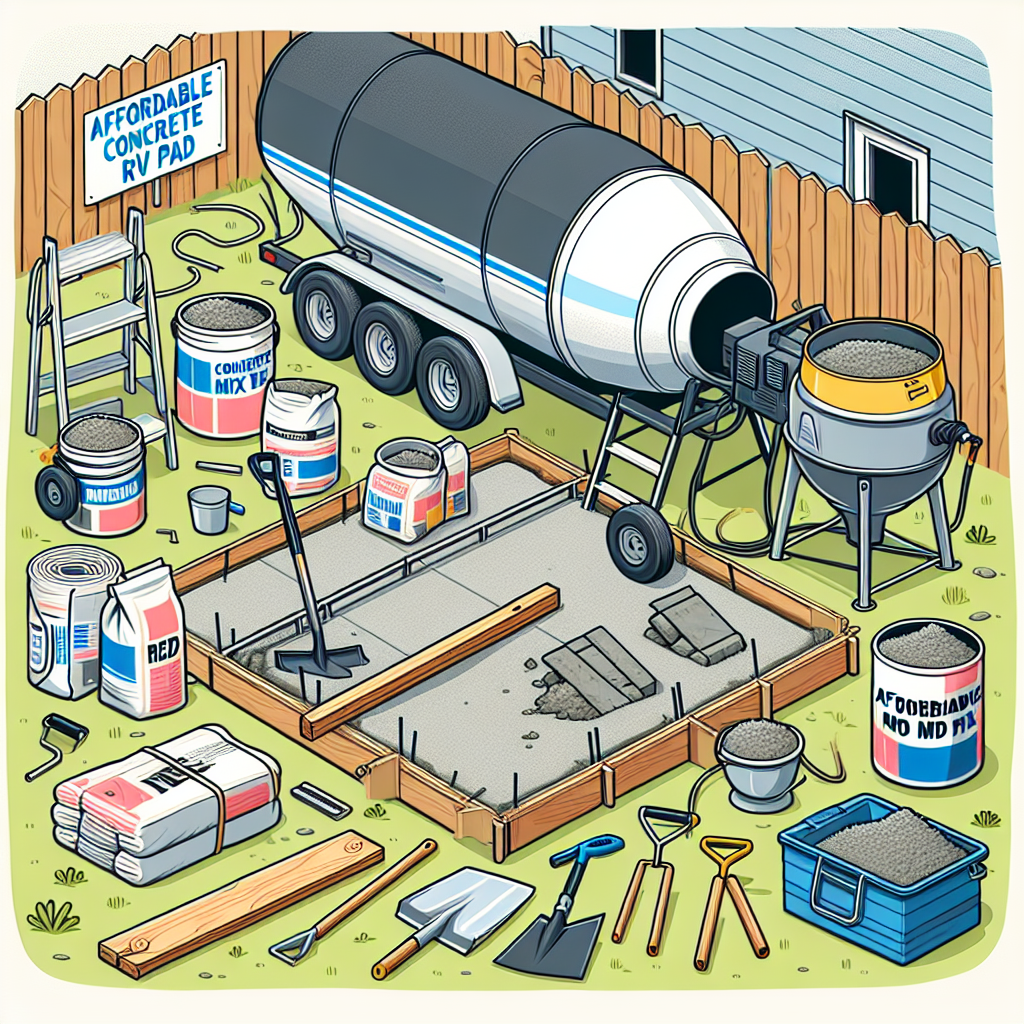
Next, you will need to gather the necessary materials and tools for the project. This typically includes concrete mix, gravel or sand for a base layer, rebar or wire mesh for reinforcement, wooden forms to contain the concrete, a wheelbarrow or mixer for mixing the concrete, a shovel, trowel, and float for finishing the surface.
To save money on materials, consider purchasing them in bulk or looking for discounts at local home improvement stores. You may also be able to find used or recycled materials that can be repurposed for your project.
Once you have all your materials ready, it’s time to start preparing the site for pouring the concrete. Dig out the area to a depth of at least four inches, then compact the soil using a tamper or compactor. Add a layer of gravel or sand as a base layer for drainage and stability.
Next, install your wooden forms around the perimeter of the pad to contain the concrete while it sets. Make sure they are securely in place and level before moving on to mixing and pouring the concrete.
Mix your concrete according to the manufacturer’s instructions, then pour it into the forms evenly. Use a shovel or rake to spread it out and ensure it fills all corners and edges of the form. Add rebar or wire mesh for reinforcement if desired.
After pouring the concrete, use a trowel to smooth out the surface and remove any air bubbles. You can also use a float to create a smooth finish on top of the concrete.
Allow the concrete pad to cure according to recommended drying times before driving your RV onto it. This typically takes several days depending on weather conditions.
By following these budget-friendly steps, you can create your own DIY concrete RV pad without breaking the bank. With some time and effort, you’ll have a durable and long-lasting surface for parking your RV at home.
Leave a Reply