When embarking on a DIY concrete sidewalk project, proper preparation of the ground is essential to ensure a durable and long-lasting result. By taking the time to prepare the ground correctly, you can prevent issues such as cracking, settling, and uneven surfaces. Follow these steps to properly prepare the ground for your DIY concrete sidewalk:
1. **Plan and Design**: Before starting any work, carefully plan out the layout and design of your sidewalk. Measure the area where the sidewalk will be installed and mark it out with stakes and string. Consider factors such as slope, drainage, and any obstacles that may need to be worked around.
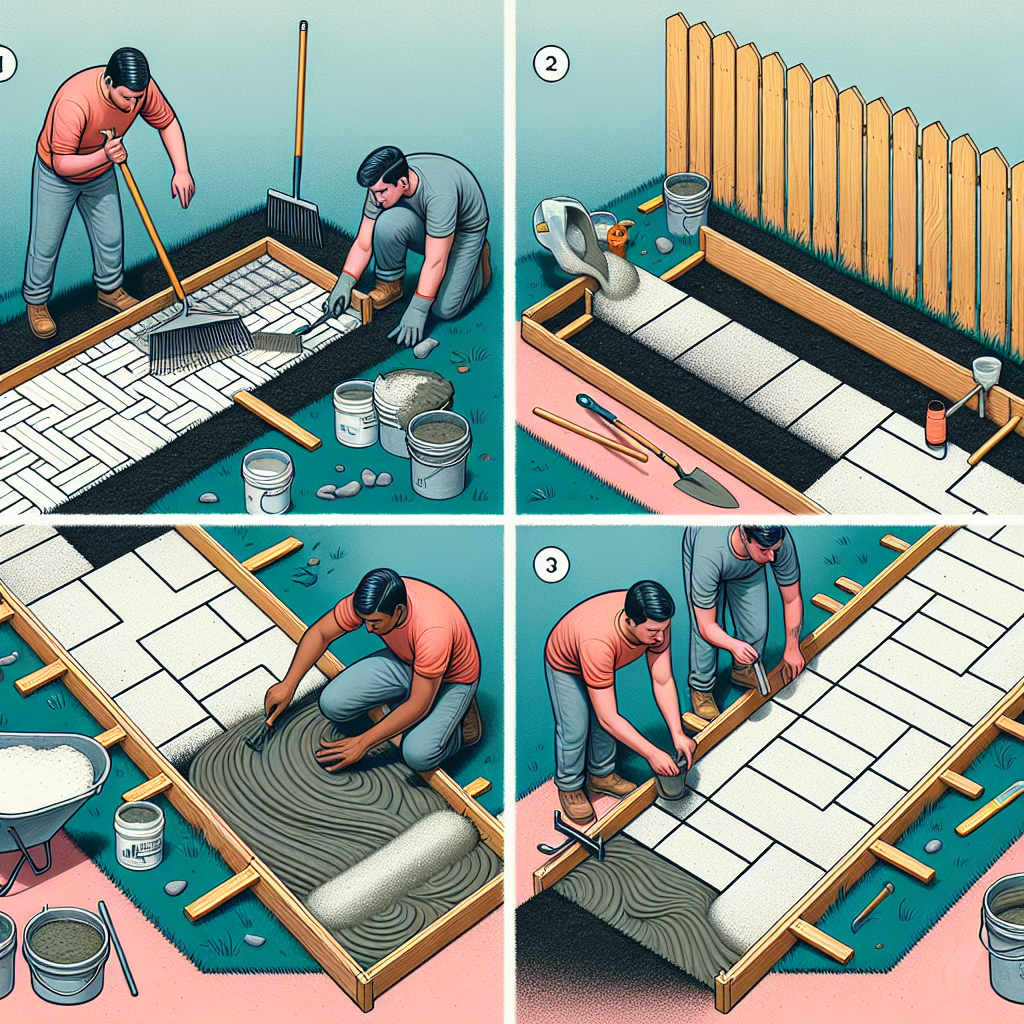
2. **Gather Materials and Tools**: Make sure you have all the necessary materials and tools on hand before starting the project. This may include concrete mix, gravel or crushed stone, wooden forms, a wheelbarrow, shovel, rake, level, tamper, and protective gear such as gloves and safety glasses.
3. **Clear the Area**: Begin by clearing the area where the sidewalk will be installed. Remove any grass, plants, rocks, or debris from the site. It is important to have a clean and level surface to work with.
4. **Excavate**: Use a shovel to excavate the soil to a depth of at least 4-6 inches for a standard sidewalk thickness. Adjust the depth based on your specific project requirements. Make sure the excavation is uniform throughout the entire area.
5. **Compact Soil**: Once you have excavated the soil, use a tamper or compactor to compact the soil base thoroughly. This will help prevent settling over time and provide a stable foundation for your concrete sidewalk.
6. **Add Base Material**: To further stabilize the ground and improve drainage, add a layer of gravel or crushed stone to the excavated area. Spread it evenly across the surface and compact it using a tamper.
7. **Install Forms**: Use wooden forms to create boundaries for your sidewalk project. Secure them in place with stakes driven into the ground along the edges of your planned walkway.
8. **Check for Slope**: Ensure that there is a slight slope away from any structures or towards designated drainage areas to prevent water pooling on your sidewalk surface.
9. **Reinforcement (Optional)**: Depending on your project’s requirements and local building codes, you may choose to add reinforcement such as wire mesh or rebar within your concrete mix for added strength.
10. **Pour Concrete**: Once everything is in place and properly prepared, it’s time to pour your concrete mix into the forms. Work quickly but carefully to ensure an even distribution of concrete throughout the entire area.
11. **Leveling and Finishing**: Use a screed board or straight edge to level off the concrete surface while also consolidating it by removing excess material from high spots.
12: **Cure Properly**: After finishing your concrete sidewalk surface with trowels or other tools as desired make sure you follow proper curing techniques such as covering with plastic sheeting or applying curing compounds according to manufacturer instructions.
By following these steps for preparing the ground for your DIY concrete sidewalk project thoroughly,you can ensure that you create a strong foundation that will support your new walkway for years to come.
Leave a Reply