Pouring and finishing a DIY concrete driveway can be a challenging but rewarding project for homeowners looking to enhance their property’s curb appeal and functionality. By following a step-by-step guide, you can successfully complete this task with the right tools, materials, and techniques.
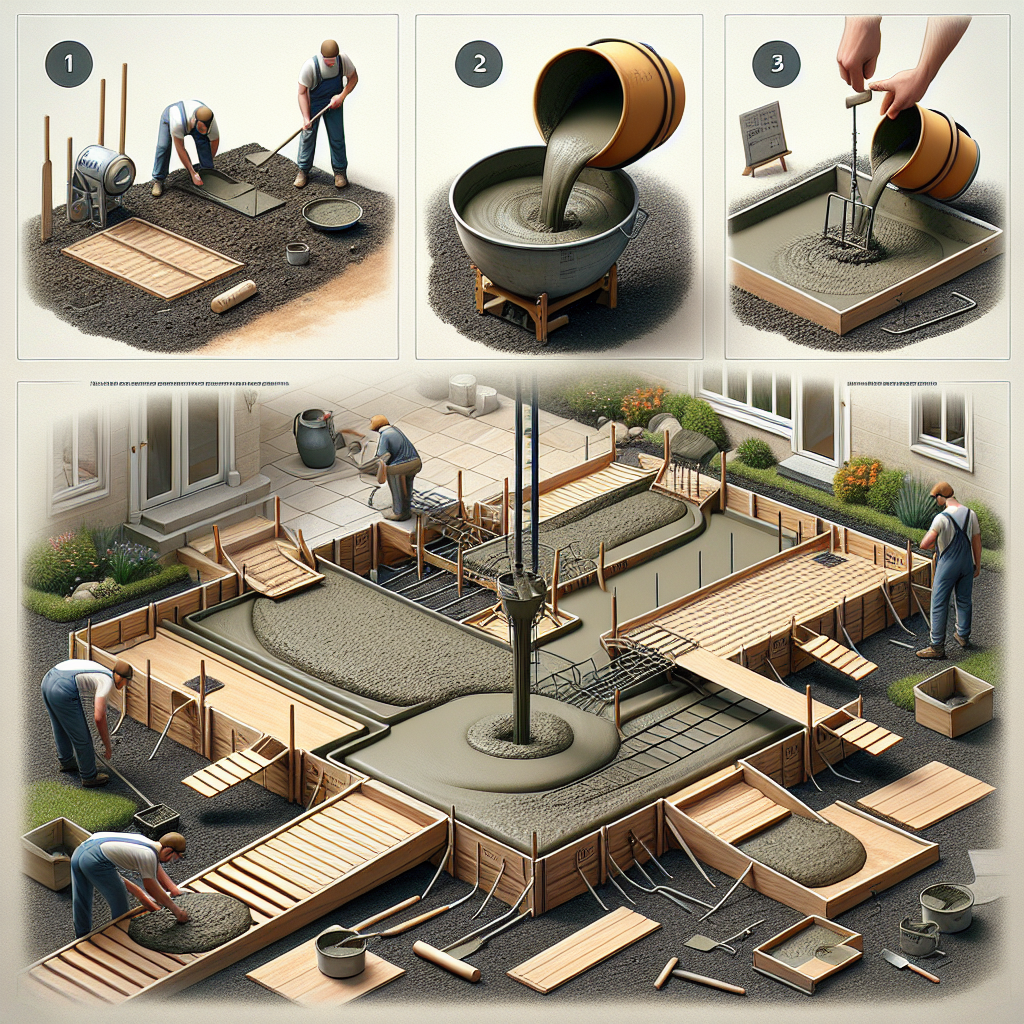
1. Planning and Preparation:
Before starting the project, it is essential to plan the layout and dimensions of your driveway. Measure the area accurately and mark the boundaries using stakes and string. Clear the site of any debris, vegetation, or obstacles that may interfere with the pouring process.
2. Gathering Materials and Tools:
To pour a concrete driveway, you will need materials such as concrete mix, gravel, rebar or wire mesh for reinforcement, plastic sheeting for curing, and water. Additionally, you will require tools like a wheelbarrow, shovel, trowel, float, edging tool, bull float, and a concrete mixer (if needed).
3. Building Forms:
Construct forms along the edges of your driveway using wooden boards or metal stakes to contain the concrete during pouring. Make sure the forms are level and securely anchored to prevent any shifting or leakage.
4. Adding Base Material:
For proper drainage and stability, add a layer of compacted gravel or crushed stone as a base for your driveway. This base material should be evenly spread and compacted using a plate compactor to create a solid foundation.
5. Mixing and Pouring Concrete:
Follow the manufacturer’s instructions to mix the concrete thoroughly in a wheelbarrow or concrete mixer until it reaches the desired consistency. Pour the concrete into the forms in small sections to prevent segregation or uneven settling.
6. Leveling and Finishing:
Use a screed board to level the surface of the freshly poured concrete by dragging it across the forms in a back-and-forth motion. Smooth out any imperfections with a bull float before using a trowel to create a smooth finish on the surface.
7. Adding Control Joints:
To prevent cracking due to shrinkage or expansion of the concrete, cut control joints into the surface at regular intervals using an edging tool or saw. These joints will help control where cracks may occur in your driveway over time.
8. Curing and Sealing:
Cover the newly poured driveway with plastic sheeting to retain moisture for proper curing over several days. Once cured, consider applying a sealer to protect the surface from stains, water penetration, and UV damage for long-lasting durability.
9. Maintenance:
Regular maintenance such as cleaning debris, sealing cracks or joints as needed, and reapplying sealer periodically will help prolong the life of your DIY concrete driveway.
By following these step-by-step guidelines for pouring and finishing a DIY concrete driveway, you can achieve professional results that enhance your property’s appearance while providing lasting functionality for years to come.
Leave a Reply